Tuesday, 20 December 2011
Wednesday, 14 December 2011
Stop Motion Animaton
I'm aware it's hard to see exactly what's going on due to the white on white. But here's what you're looking at:
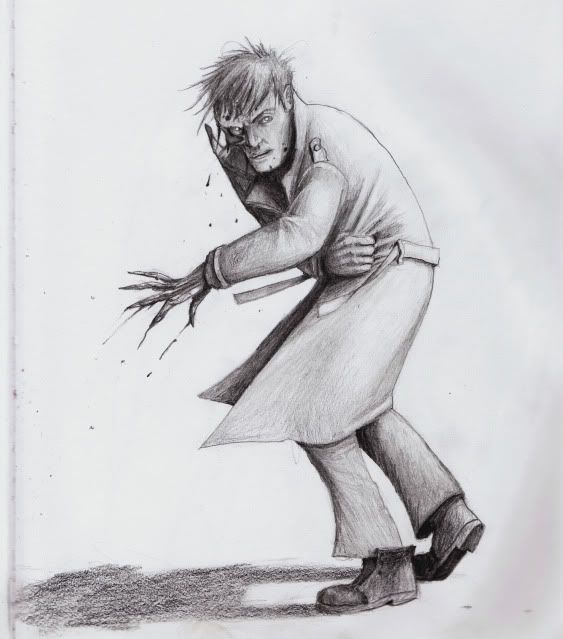
I found out the hard way that if I wanted anything I drew to be seen, I had to make it really dark. The character is just as shaded in the video as the picture, but it's just not enough. In the future, I'll definitely be using more contrasts.
This first video is around 18 seconds long, though the original cut was 26. Lost 8 seconds after speeding it up in parts, and cutting out a couple frames. for just those 28 seconds, I was taking pictures for about 4-5 hours. part of what made it take so long, was having a character made of separate moving parts, none of which are secure. When I tried to move one piece, they would all want to shift dramatically, leading to plenty of hair pulling. I tried gluing things down, but the glue dried up and became useless pretty fast.
And then of course, there's the construction of the character himself.
Those are just the pieces I found left in my drawer. There's another head, some thighs, more feet, more hands, etc. I drew, cut out, and shaded each one, and that took a couple days, just doing it while on break from other things.
The amount of time it took to make the 20 second piece is stupid.
Sunday, 16 October 2011
More Wick
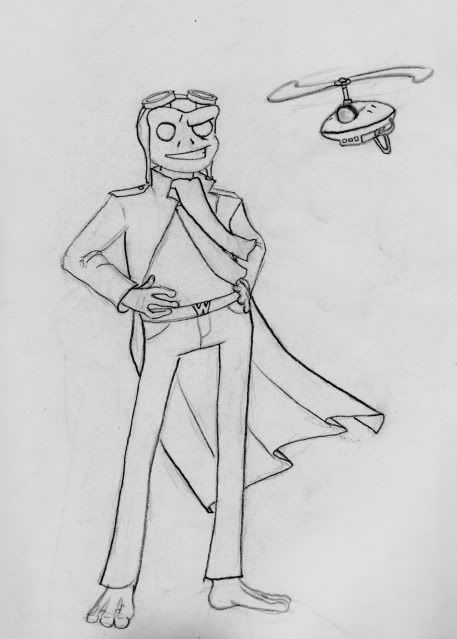
More recent drawing of Wick. I gave him a baggy coat cause I thought it was a nice contrast to his tall lean figure. Gives him a sort've candy apple look.
I was going to shade him in, but I really like the clean look he has, especially on his sleeves.
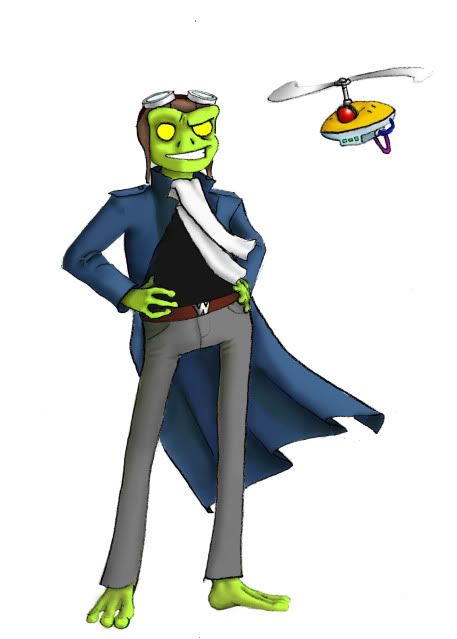
Coloured him in on Photoshop.
And with some shading and highlights. . .
And here's one more. This ones a bit older. I tried colouring and shading using pencil crayons- it came out a bit rough looking. Still trying to get the hang of Pencil Crayons, but I'm not really loving it.
Saturday, 8 October 2011
Laurel Wreaths
For my friend Jeff's Birthday, we held a Toga party at my pad, and I was surprised at the amount of turn out when it came to toga's, but more-so the amount Laurel Wreaths that were actually constructed.
Of course a couple of them were left behind.
This one was made by my friend Lindsay,
It's painted plastic leaves. It stays on via hairclips.
This one was constructed by Jordana for Jeff.
A head band with individual leaves cut out and pasted on. There's also some bent wire at the front to hook it on your head.
This one's mine.
I went the more lazy root and cut out only a couple leaves to stick on there to give the illusion of separate pieces. It's glued onto a bent coat hanger and stays on by squeezing my skull. Gently.
And this one is by Nathan
Nathan traced mine, and put a bendy wire on the inside to make for a more one-size fits all thing.
Saturday, 1 October 2011
Kung fu on a bridge!
My friend and I were staying up for many late nights watching a ton of old 1970's Kung-Fu films. I had an unused katana lying around, and so we made a couple of short unfinished kung-fu fights. They're a couple years old now, and I won't be finishing them. I'll probably make a proper ten minute one eventually instead.
Anyway, here's the second video we made. Just 2 dudes and a tri-pod.
Anyway, here's the second video we made. Just 2 dudes and a tri-pod.
Thursday, 22 September 2011
Dino-mask!
Now that I'm settled with a pleasing number of posts, I'm gonna try and do just one post a week. I'll try and make them nice and phat though.
So I'll post my dinosaur mask today.
The mask is based on a minataurasaurus. A member of the ankylosaurus family, in which only a single fossilized skull exists. Which is perfect, because now, in a way, it's a complete costume.
A lot of creativity had to be used to figure out the placement and proportions of things. The nose had to be shrunk, and the eyes moved forward, as well as the lower spikes. The way I thought of it, I could either have them coming off the back of my head, or just a little further back from the eye. Both are accurate, but I figured the latter looked better.
The mask is paper-mache, with crumpled thin cardboard (like cereal box material) for the bony forehead. The skin is textured wall paper glued on over top.
Kraft glue was smooth over the horns in layers to work out the wrinkles and rough textures.
Of course, next was the paint, which was pretty easy since all it takes to look good is a little dry brushing.
One thing I would do differently, is make it a bit more spacious. It's really snug and doesn't fit many other people.
Saturday, 17 September 2011
Friday, 16 September 2011
Thursday, 15 September 2011
Ten minute Tiki
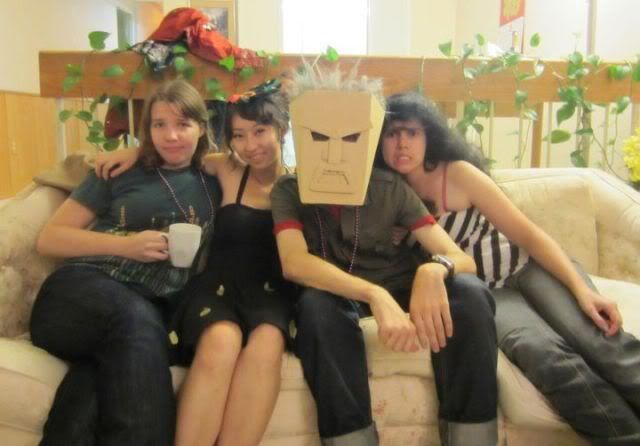
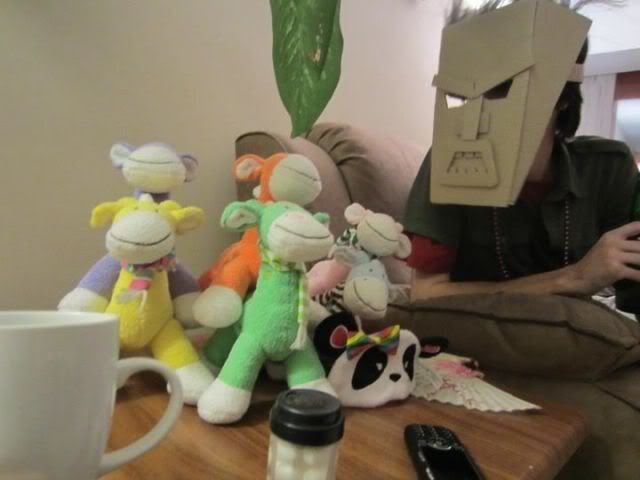
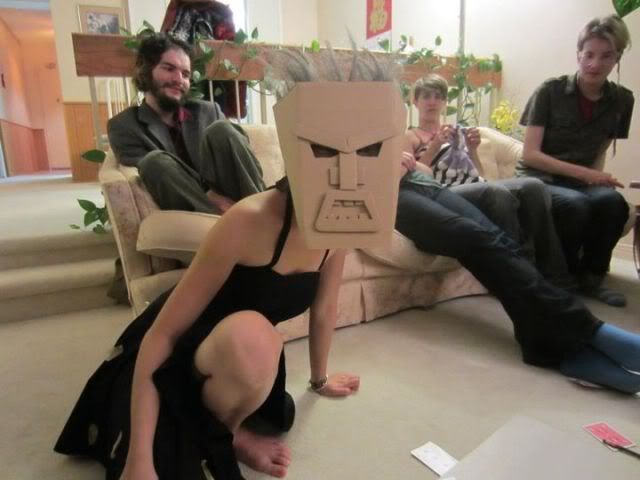
Okay, maybe not ten minutes, but surely no more than a half hour.
One size fits all, and you look awesome.
I was running out of time to put together a quick costume, so I cut some shapes out of cardboard, glued them together with a glue gun, and then added some wig hair on top for effect (left over from my failed first attempt at a baboon mask).
Some cardboard wraps around the back of the head and over the top. With more time it could've been spruced up with paints, some feathers, or maybe some actual research on Tiki masks.
Of course, then it wouldn't be a Ten-minute-Tiki
Wednesday, 14 September 2011
Romalomalon
I finally put my Rom Commercial on youtube.
So now you can find it there, or at least, you're supposed to be able to. No longer does everyone have to go on my facebook to view this!
So now you can find it there, or at least, you're supposed to be able to. No longer does everyone have to go on my facebook to view this!
Tuesday, 13 September 2011
Amphibious Colour
I've been working on a comic book in the style of old early 90's cartoons. Green skinned heroes fighting mutants and anthropomorphic animals while surrounded by lasers, robots and radio activity. Also everything is messy and brightly coloured. You know; Ninja Turtles, Toxic Crusaders, Swamp Thing, Bucky O'Hare, and all that jazz.
So Here's amphibious Wick.
Old picture, But I just finished colouring it in photoshop, so that's new.
It's the first time I've coloured with photoshop in about 8 years give or take. Good news is I'm finding it way more enjoyable than Pencil crayons, or paint. Both will continue to be the bane of my existence. Also, swapping colours is awesome.
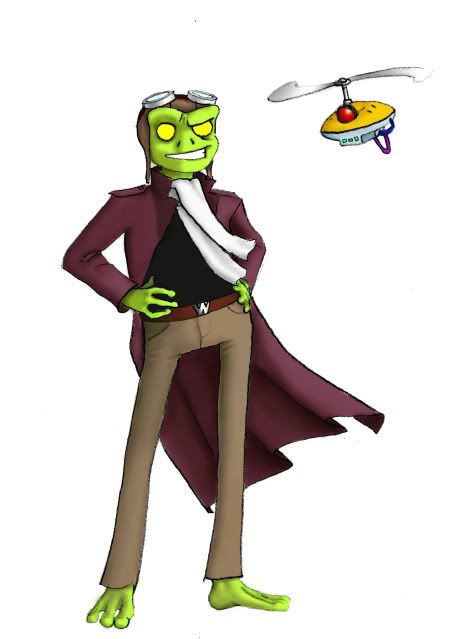
Here's a palette swap as suggested by Tara Epp
Monday, 12 September 2011
FIRST!
Sweet sexy new blog. I'll be hosting a lot of old stuff with some new stuff to fill it out a bit- give it some heft. Otherwise, I don't know if I pump out enough to justify this to myself.
This will be a way to keep a record of my films, props/costumes, music and art.
To start off, I'll post some of the latter.
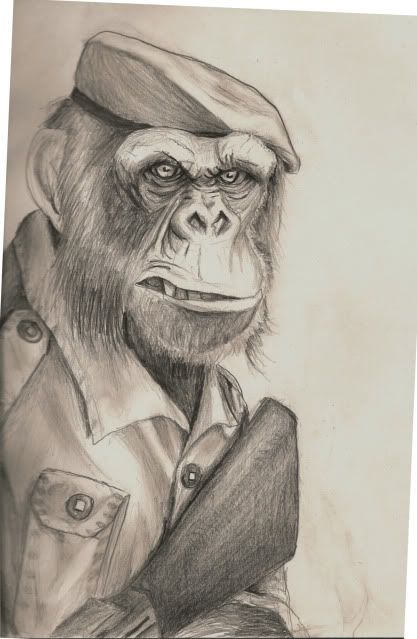
Chimps are cool.
This will be a way to keep a record of my films, props/costumes, music and art.
To start off, I'll post some of the latter.
Chimps are cool.
Subscribe to:
Comments (Atom)


